Cheese VFFS Packaging: A Trial Brief for Shredded and Diced Products
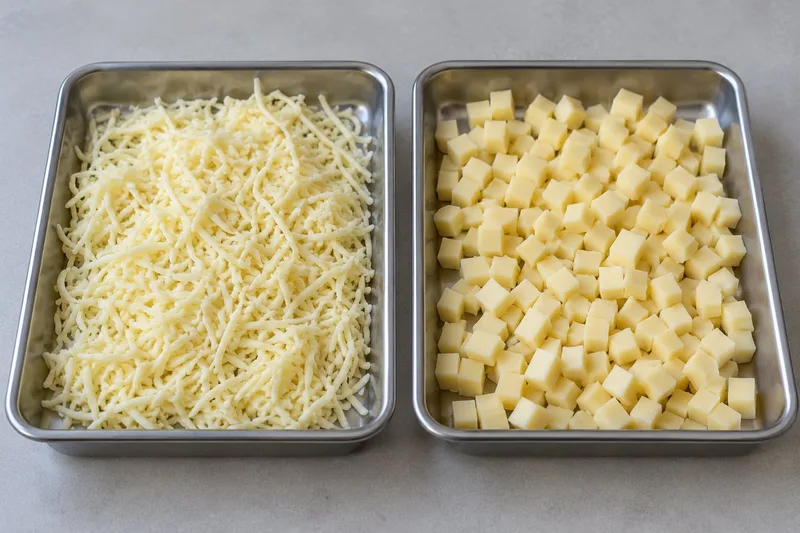
Unrepresentative cheese samples can mislead selection. Plan a VFFS trial around shredded or diced product, portion records, discharge and seal observations.
Practical starting points for comparing equipment, preparing your brief and choosing a pack format.
Unrepresentative cheese samples can mislead selection. Plan a VFFS trial around shredded or diced product, portion records, discharge and seal observations.
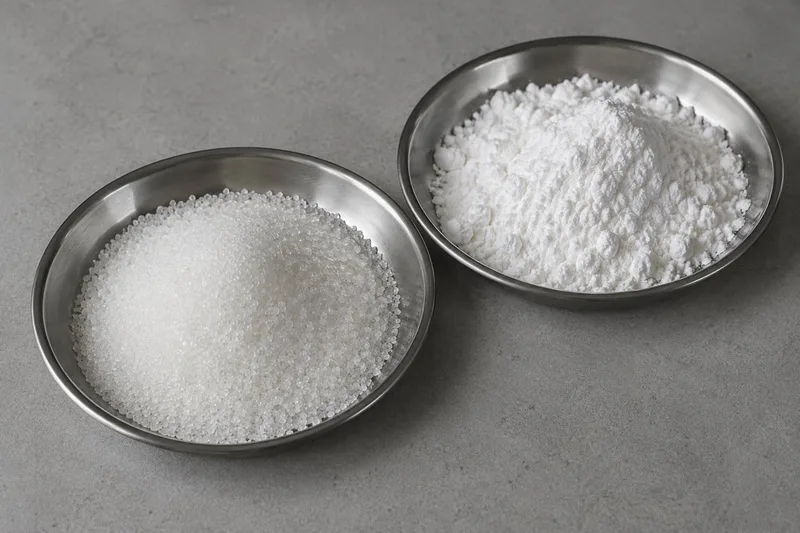
A sugar name alone can mislead selection. Compare granulated and powdered samples through dosing, density, dust, portion-weight and VFFS seal trial records.
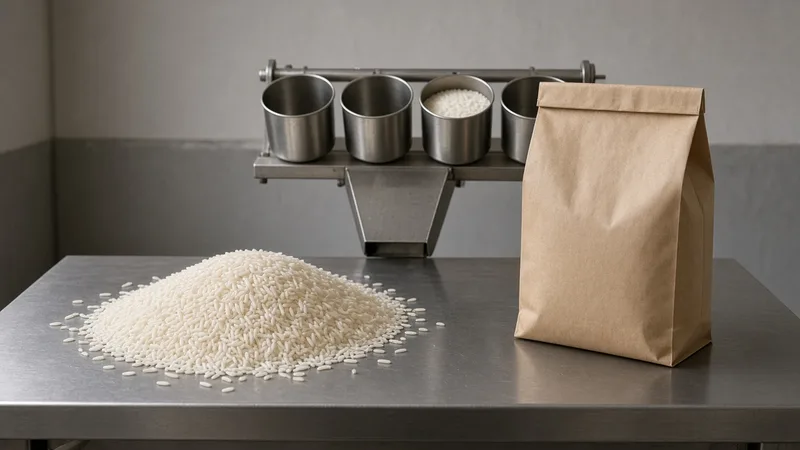
Ordering a vertical form-fill-seal line from the phrase rice production can waste the sample on the wrong dosing route. Compare a volumetric cup, a linear scale, and a multihead weigher against the grain, the labeled fill weight, and the retail bag, and record breakage, blend separation, and weight variation before you order.
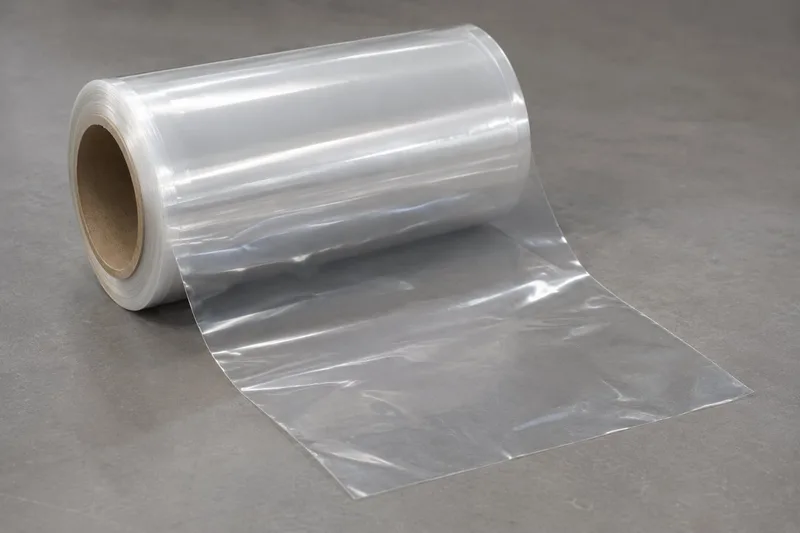
Confusing roll-film and finished-pouch responsibilities can leave a quote incomplete. Start with VFFS for forming from a reel, or premade handling for bought-in bags.
Choosing by bag shape can select the wrong machine. Compare flow wrap for positioned items with VFFS for measured portions, then check product handling.
An ambiguous brief makes quotations hard to compare. Submit SKU conditions, a bag sample or drawing, accepted-output targets and factory constraints first.
A coffee format chosen without the product can require different dosing later. Compare bean bags first; review ground coffee separately and instant powders for sticks.
A lower quote may simply omit equipment or installation work. Align base-machine scope, format parts, buyer-supplied equipment and responsibilities before comparing totals.
A faster bagger cannot remove waiting caused by product supply or case packing. Identify the bottleneck, choose initial SKUs, then plan trials, people and first-run records.
Normalize equipment, options and operating conditions so differences between packaging quotations are visible.
The wrong dosing route can miss portions or leave product in the seal. Start with product form, then compare multihead weighing and auger dosing at the finished pack.
Weight alone can leave too little room for closing a bag. Estimate product volume with V = m / ρ, then check the actual filled pack and sealing clearance.
Ordering film from finished-bag width alone risks an unusable reel. Unfold the chosen bag geometry, add its seal allowance, and distinguish cut length from usable length.
Calling a film only “plastic” or “foil” leaves compatibility questions unanswered. Review its specification, reel identity and sealing conditions before comparing machine results.
A nitrogen option alone does not prove shelf life. Define the package objective, gas-supply boundary and sampling times, then judge gas observations together with seals and accepted output.
Unassigned valve installation leaves a gap in the equipment scope. Choose between converter-fitted premade pouches and quoted inline application, then name who supplies, installs and checks the valve.
A pooled weight average can hide an off-target lane. Trial the actual formula, identify each lane and measurement method, and link refill or pause events to fill results and seal checks.
A gentle-handling claim cannot identify where breakage occurs. Compare an incoming baseline with safely collected samples at adjacent transfers, then judge damage together with accepted bag output.
A short demonstration can hide buildup and manual help. First distinguish interrupted supply, retained product and clumps, then observe temperature, coating and dwell time through a representative run.
A trial that loses the representative frozen condition cannot support equivalent acceptance. Record product state through each handoff, separate frost, clumps and fragments, and state any gap from the installation environment.
Repeated resets can erase the evidence behind a failed seal. Record VFFS seal, film-feed and jaw symptoms with alarms, bag samples and the service boundary.
A pouch that opens by hand may still fail in automatic handling. Review production samples, empty-pouch opening, actual filling and initial sealing or consumer reclosure as separate stages.
Without agreed criteria, a factory acceptance test can end in a dispute. Connect each order requirement to a material set, measurement method, evidence reference and named exception owner before the run.
A machine footprint can fit while replenishment and maintenance remain blocked. Review the plan, elevation, delivery route, interfaces and task rehearsal against the actual configuration drawing.
Single-machine catalog values can leave a line unready for startup. Match supplier requirements to site readings and connection owners before installation.
Timing only mechanical adjustments understates downtime. Measure from the last accepted old-format pack to release of the new run, including checks.
Removable parts can still obstruct routine changes if handling space is missing. Review residues, permitted cleaning, contact access and reassembly together.
Buying by appearance can leave you with an incompatible spare. Match machine identity, installed position, markings and modification history before ordering.
Peak speed cannot guarantee shift output. Divide required accepted packs by defined production minutes, then test the complete line under those conditions.
“Successful” without matching evidence cannot approve every configuration. Check the test question, materials, raw records, criteria and unresolved actions.
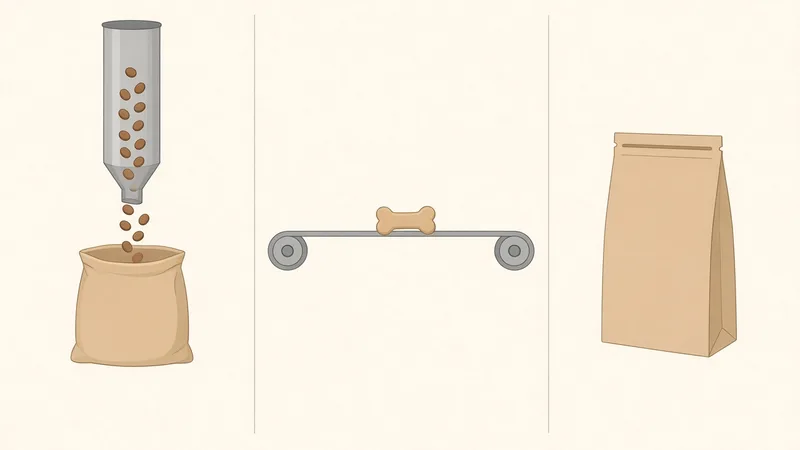
Before choosing a VFFS machine for dry pet food, record kibble or treat, the bag sold, and whether it is roll film, flow wrap, or a premade pouch.
A flour-production phrase can waste the VFFS trial on a mill or a bulk sack. Record the retail bag, the feed and settling, and the seal dust.
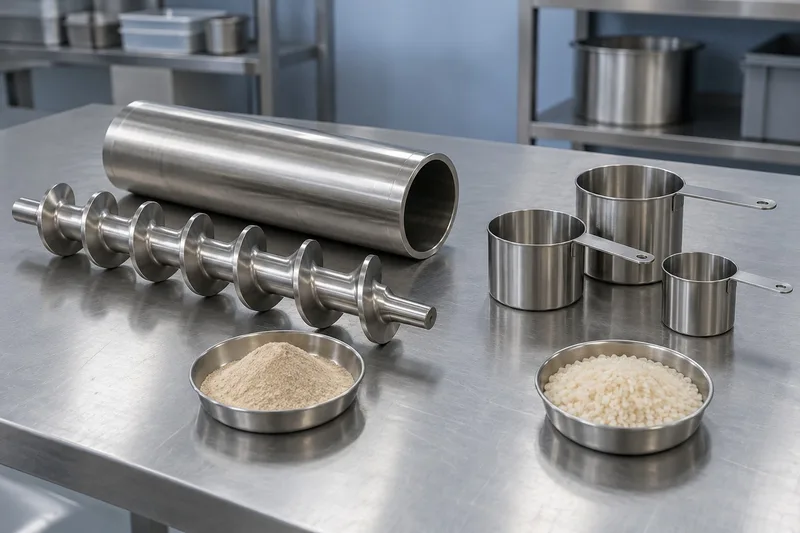
Choosing by filler name can waste a trial. An auger screw and a cup both can meter volume; compare their VFFS proposals with a blank paired trial record.
The guides are grouped by the decision in front of you. Start where your project is today; each guide ends with a checklist you can send with an enquiry.
If you have never bought a packaging machine, read the first-machine guide and then write the brief. The first guide lays out a sequence. Automate one clear bottleneck, keep the rest manual until the line is stable, and choose the pilot product that will teach you the most. The brief guide shows what a supplier needs in order to give a useful answer, and it includes an example of an incomplete enquiry next to a usable one.
You also have to decide whether the package is made from roll film or bought as premade pouches. That choice affects packaging cost, changeovers and the machine family. Settle it before you start comparing individual machines. If your products are single bars or biscuits rather than loose pieces, first check whether they belong on a flow wrapper at all; the flow wrap or VFFS guide sorts products by how they enter the pack.
Once the product and pack are defined, the next question is how the product will be measured. The multihead-versus-auger guide sets combination weighing for pieces against auger dosing for powders, and it says when a crossover trial is needed for borderline products. The bulk density guide shows why the same net weight can call for very different bag and hopper volumes.
For the pack itself, the bag size guide explains how finished dimensions turn into film width and forming parts. The film guide lists what to request from a film supplier, so you are not working from a material nickname. Coffee has its own guide. It separates whole beans, ground and instant products.
Retail rice needs its own dosing record before you order. The rice guide compares a volumetric cup, a linear weigher, and a multihead weigher against the grain, the labeled fill weight, and the retail bag, and it keeps breakage, blend separation, and weight variation blank until the trial fills them in. A 25 kg or 50 kg open-mouth sack stays off that sheet.
If the shortlist contains auger and volumetric cup proposals, the paired VFFS trial record keeps setup, refill and pause events, individual weights and seal observations together. Download the blank sheet before the matched runs; it contains no presumed results.
Some products need their own checks before a machine can be judged. Fragile snacks and frozen pieces need a damage definition and sampling at each transfer point. Sticky products such as gummies and dried fruit need a run long enough to show buildup on contact surfaces. For frozen products, the trial has to hold them at production temperature, frost and clumping included. Powders need a dosing trial that records refills and every lane separately. Dry kibble and discrete treats need a pet-food format record, which separates loose kibble from whole pieces and roll film from a finished pouch, before a machine is chosen. Flour for a retail bag needs its own route record, which separates roll film from a premade pouch and from a bulk sack, drum, or box, and leaves feeding, settling, and seal-zone dust blank until a sample is in hand.
Pack features have guides of their own: nitrogen flushing, coffee degassing valves and zipper pouch opening. Read the ones that match your product before you send samples. They tell you what to include with the material.
Maybe your product fits none of these groups. In that case, describe how it behaves and skip what it is called. Does it flow, bridge, stick, break, melt or give off dust? That description decides which guide applies and which trial is worth running.
Three guides help you compare proposals fairly once they arrive. The VFFS quote guide explains which scope decisions change the price. So a lower total is not mistaken for the same equipment at a better price. The quotation comparison guide shows how to put every offer on one scope sheet and keep offered features apart from demonstrated ones.
The output target guide turns a production plan into accepted packs per shift, with changeovers, film changes and cleaning allowed for. Use it before you request a speed. A rate quoted without your product, bag and pack mix cannot be compared between suppliers.
Before an order is final, check that the line will fit and run in your building. The layout checklist covers product flow, headroom, platform access and replenishment routes. The utilities checklist covers power, compressed air and optional gas for the complete line. For the cleaning method your process requires, the cleaning access guide shows how to review the product-contact path against it.
The sample test report guide teaches you to read a trial report. Check which material, tooling and settings were used, keep observations apart from conclusions, and turn each open point into a specific next step.
The factory acceptance checklist helps you write the acceptance protocol before the visit. The session then measures accepted packs under recorded conditions and ends with a clear disposition. After installation, the changeover guide covers how to prepare format parts, record settings and prove a restart. To identify a part precisely enough for its compatibility to be checked, use the spare-parts guide.
If you are short on time, read three guides: the brief, the quotation comparison and the acceptance checklist. Between them they cover what you ask for, how you compare the answers and how you confirm you received it.