
Packaging Machines / Premade Pouches
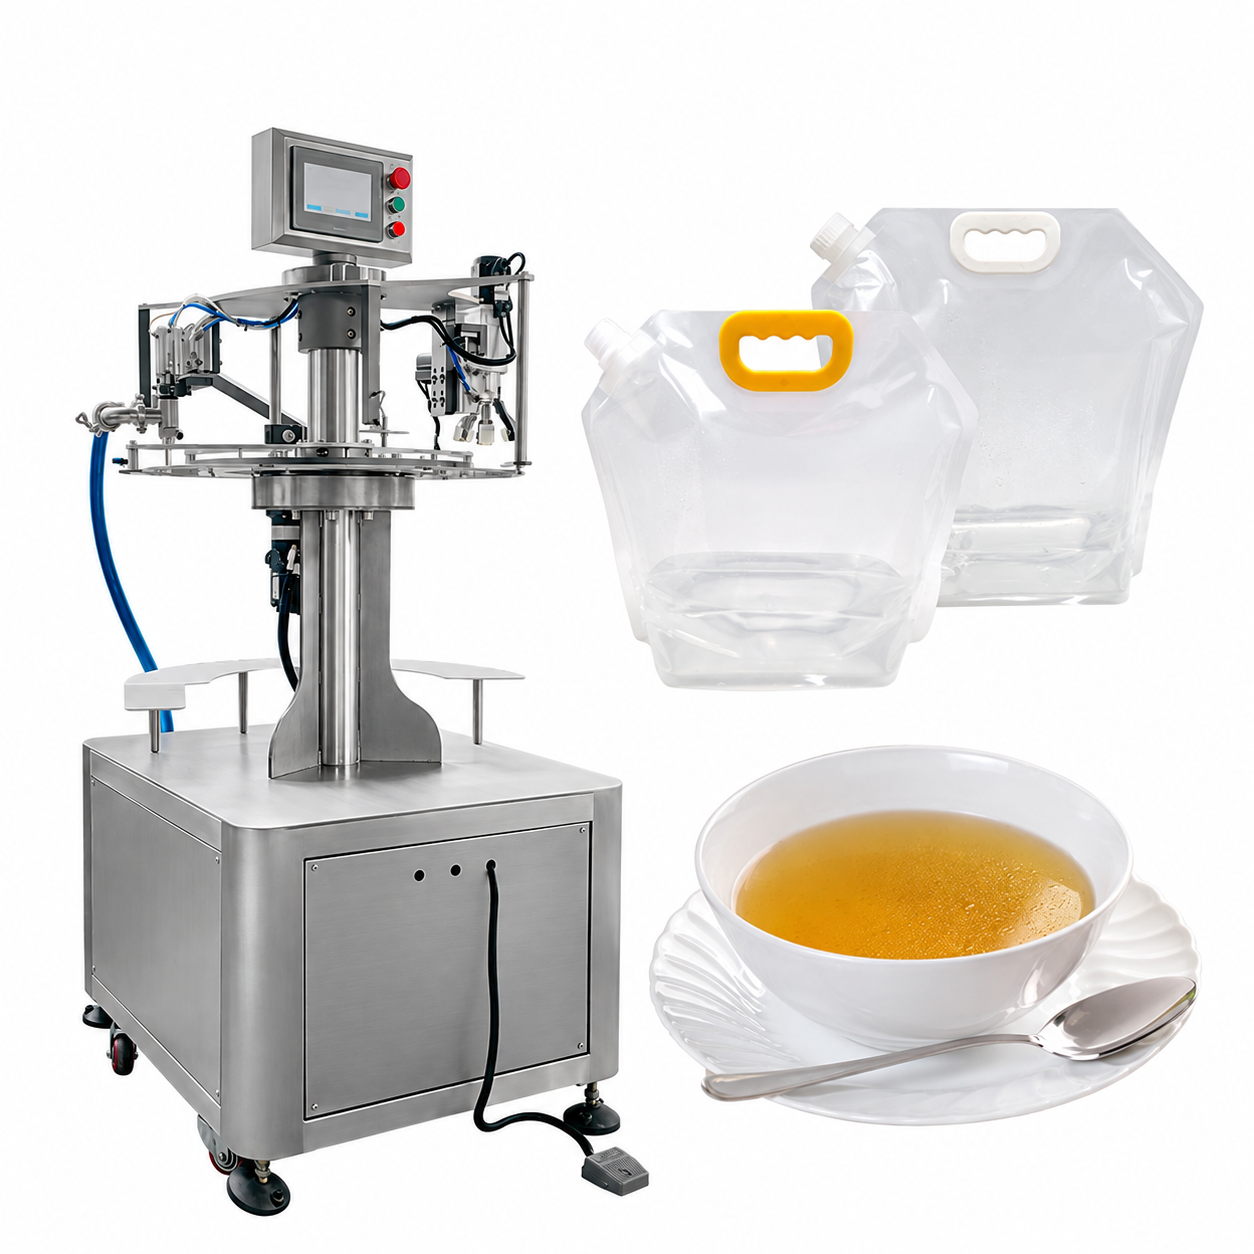
Spout-Pouch Filling Machine
A cap that looks seated but is not engaged leaks after shipping. Specify this spout-pouch filler and capper from your pouch, neck drawing, matching cap and liquid, as a stand-alone or integrated station.
- Route: load spouted pouch, fill through the neck, feed and screw the cap, discharge
- Fit inputs: neck opening, support flange, thread, cap type
- Liquid inputs: viscosity, filling temperature, foam, particles
- Scope: stand-alone filler or integrated station within your process
- Speed and fill range: none published for this configuration
We reply within 24 hours.
| Product and configuration | Spout-Pouch Filling Machine |
|---|---|
| Published scope | Route: load spouted pouch, fill through the neck, feed and screw the cap, discharge; Fit inputs: neck opening, support flange, thread, cap type; Liquid inputs: viscosity, filling temperature, foam, particles; Scope: stand-alone filler or integrated station within your process; Speed and fill range: none published for this configuration |
| Inputs to provide | Send matching pouch, neck drawing, and closure samples. Verify the selected filling path and cap engagement with the actual liquid. Demonstrate cap replenishment, restart, and the agreed closure checks. |
Configuration & Selection
Match the line to your exact fitment and cap first: the neck, support flange and thread locate the pouch, and the cap must engage, not just sit. A neck that looks the same can need different tooling, and a mis-engaged cap leaks after the pack leaves the line. Send the pouch neck dimensions, closure details and product characteristics before compatibility is confirmed. Send pouch samples, the neck drawing, matching caps, your liquid's condition and the fill quantity through the enquiry form or WhatsApp; physical samples are arranged separately.
On This Page
A filling route through the pouch neck
The spout-pouch configuration fills a bag through its neck and then closes that opening with a cap. The published working process lists bag loading, filling, cap feeding, cap screwing and finished-product discharge. That differs from opening a wide pouch mouth and making a top seal after filling. The pouch body and attached spout arrive as packaging components. Their dimensions and construction must suit the proposed handling arrangement.
The published configuration lists several liquid applications, but your product should be evaluated with its own spout and closure. A neck that looks the same in a photograph may have a different support flange, thread, opening or cap design. Begin with a complete set of pouch and cap samples and the intended liquid. The quotation should link those items to an explicit loading, filling and closure sequence. "Spout pouch" is not a universal format specification.
Takeaway: Start from a complete set of pouch and cap samples and the intended liquid.
Specify the neck, flange, thread, and cap
Provide a drawing of the pouch fitment showing the neck opening, thread form, support features and orientation in the bag. Include the cap dimensions and any tamper-evident or internal sealing features. The supplier should say which surfaces support or locate the pouch during filling and capping. Those contact points matter. The equipment must hold the fitment securely, because the flexible pouch body is no rigid reference.
Use samples from your actual packaging converter, not a visually similar alternative. Inspect fitments for variation that could affect loading or cap engagement. Where several pouch sizes share one spout, confirm that the body size and filled weight still suit the proposed support and discharge arrangement. The reverse also holds: a common bag size with different neck designs may need distinct tooling. List each included neck and cap format separately. Later packaging changes can then be judged against a documented baseline.
Takeaway: List each neck and cap format separately, so later changes have a baseline.
Match the liquid path to the proposed application
Describe the product's viscosity, temperature at filling, tendency to foam, and any particles that must pass through the selected nozzle and neck. The spout opening is a physical restriction, so check it against the actual formulation. The supplier should identify the proposed filling mechanism and product-contact route, including the inlet connection, valves, hoses and nozzle, and clarify which parts are supplied and which connect to existing equipment.
A beverage, a cooking liquid and a household product are separate projects, each with its own compatibility and cleaning requirements. The catalog's application list does not mean one product-contact circuit can serve them all. If the project involves carbonation or another demanding filling condition, say so outright. A source title that mentions a beverage does not demonstrate a suitable pressure-controlled process. Leave unresolved requirements visible until a configuration and trial method have been proposed for them.
Takeaway: Check the spout opening against your actual formulation, including any particles.
Watch filling at the narrow opening
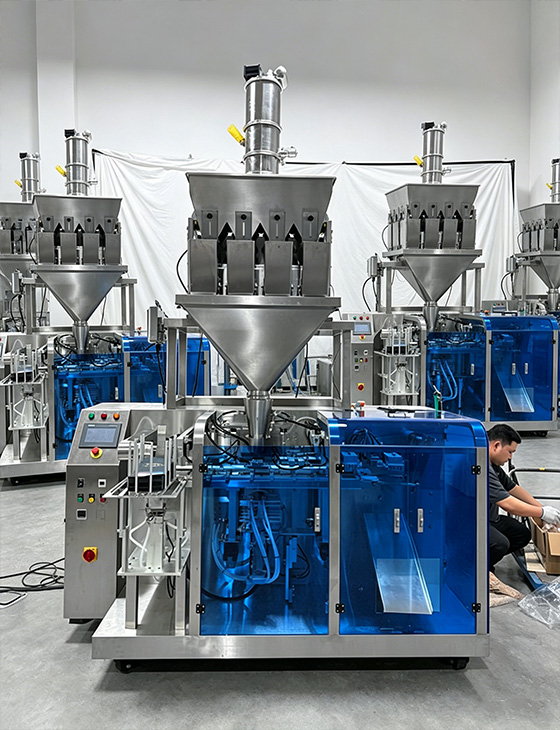
In a trial, watch how the nozzle aligns with the neck, how the dose starts and what happens when filling stops. Liquid on the outside of the neck can run into the closure area or soil the finished package. Note whether droplets appear during nozzle entry, during the dose or after withdrawal. The supplier can then review alignment, product behavior and timing as separate parts of the filling operation.
Use the actual target quantity and pouch size to inspect the filled shape and remaining space. A flexible bag may expand or shift as liquid goes in, so check the support throughout the cycle, not only when the empty pouch is loaded. What does the system do if a pouch is missing or wrongly located? Any detection arrangement should be demonstrated as part of the selected scope. The same function is not on every catalog configuration.
Takeaway: Note whether droplets appear at nozzle entry, during the dose or after withdrawal.
Review cap feeding and closure as separate steps
Cap delivery and cap application each need attention. The supplier should demonstrate how the intended cap reaches the screwing station and how incorrect presentation is handled. Watch for tilted caps, damaged threads, and caps that look seated but are not properly engaged. A successful filling trial says little about closure. So keep samples from the combined sequence for the package checks you have agreed.
Where appropriate, define the closure acceptance method with the cap and pouch supplier. The equipment proposal should name any setting, tooling or inspection function used to achieve and assess closure. A universal tightening value cannot be derived from the package size. If a tamper-evident feature is required, examine its condition after application and after the agreed opening check. Record defects by cap lot and pouch lot as well as machine setup. Component variation is otherwise easy to mistake for a simple adjustment issue.
Common mistake: Copying a tightening setting from another cap or pouch size instead of defining closure acceptance with the cap supplier.
Takeaway: Record closure defects by cap lot and pouch lot as well as setup.
Plan cleaning and access around the filling head
Find out how the nozzle, product valves and connected hoses are emptied and reached for cleaning. Inspect the area around the neck support and capping station for places where drips could accumulate. Cleaning the product-contact parts and removing external spills are different jobs, and they may involve different components. Write down your cleaning requirements, the limits of the supplied equipment and the parts operators are expected to remove.
A change from one liquid to another calls for a review of residue, compatibility and your own verification process. If the product range changes substantially, work out whether separate equipment or dedicated parts are needed. A rinse does not make every transition acceptable. After reassembly, verify nozzle alignment, fitment support and cap tooling before production is released. These checks tie the cleaning work to the mechanical setup that governs the next batch's filling and closure quality.
Takeaway: Verify nozzle alignment, fitment support and cap tooling after reassembly.
- Send matching pouch, neck drawing, and closure samples.
- Verify the selected filling path and cap engagement with the actual liquid.
- Demonstrate cap replenishment, restart, and the agreed closure checks.
Demonstrate size changes and interrupted production
Choose a trial with representative pouch bodies and every distinct neck or cap format in the proposed scope. Note changes to the loading arrangement, supports, nozzle position and cap tooling. Which settings can be recalled, and which depend on replacing components? A format range should describe practical changeovers. A large minimum-to-maximum capacity interval, with no package details behind it, does not.
Put product replenishment, cap replenishment, a deliberate stop and a restart into the demonstration. Watch the first closed pouches after each event. Record fill results, external cleanliness, neck damage, cap engagement and the leakage or closure checks you selected. Keep rejected packs for examination, and count acceptable finished units apart from cycle count. If an alternative cap or pouch is used for an initial demonstration, note that limitation and name the checks still required with your intended production packaging.
Takeaway: Count acceptable closed pouches apart from cycles after each interruption.
Request a package-specific filling and capping proposal
Send complete empty pouches, matching caps, fitment drawings and representative liquid samples. State the intended fill quantity, product temperature range, available utilities, and how bags are to be loaded and collected. Add the dimensions of the installation space and any planned downstream inspection or packing equipment. Say whether the scope is a stand-alone filler or an integrated station within an existing production process.
The proposal should identify the loading system, filling components, cap feeder, screwing arrangement, change parts and included detection functions. Any performance statement should name the product, pouch and cap combination it was based on. Buy on a complete observed sequence that ends in an acceptable closed package. Changes to the neck, closure, liquid or pouch body can then be handled as reviewable format changes. None should be assumed to fit just because it shares the broad description of a spouted pouch.
Pouch, neck and cap record
Keep one record line per combination you plan to run; it follows the neck and closure sections above. Closure acceptance comes from your cap and pouch suppliers, so this record names the method rather than a tightening value.
Pouch code: body size and converter.
Neck code: opening, thread form and support flange from the fitment drawing.
Cap code: cap type, including any tamper-evident or internal sealing feature.
Inspection method: the closure and leakage checks agreed with the component suppliers, and when they are taken.
Takeaway: A new pouch, neck or cap code is a format change to review, not a setting to copy.
When this does not apply
No speed or fill range is published for this configuration. It fills through the neck and caps; filling through an open pouch mouth with a top seal is a different arrangement. Carbonated or pressure-controlled filling is not demonstrated by this page. Detection functions for missing or misplaced pouches are included only when quoted.
Takeaway: Buy on an observed sequence that ends in an acceptable closed pouch with your own packaging.
Frequently asked questions
Why can pouches of the same size need different fixtures?
Because the equipment locates the pouch by its fitment, not its flexible body. A common bag size with a different neck opening, thread or support flange may need distinct tooling.
Can a different cap use the same tightening setting?
Not by default. A universal tightening value cannot be derived from the package size; define the closure acceptance method with the cap and pouch supplier and check it on samples from the combined sequence.
Can this run as a stand-alone filling station?
Yes, the scope can be a stand-alone filler or an integrated station within an existing process. State which one you need, along with how pouches are loaded and collected.
What is a spout pouch filling machine?
A machine that fills a flexible pouch through its attached spout and then closes it with a cap. On this configuration it loads the pouch, fills through the neck, feeds and screws the cap and discharges the closed pouch.
Bag Format Selection
Review the pack requirements for your enquiry. Compatibility is confirmed for the selected equipment and sample.
Planning Guides for This Configuration
These pages cover the system type, trial preparation and project checks that apply to this configuration.
Request a Packaging Configuration
We reply within 24 hours. Tell us what you need to pack. Leave quantity and output blank if you are still deciding. When you continue, WhatsApp opens with your enquiry written out so you can review it and send it to our team.
Explore the application · Configuration and project support
Related Packaging Configurations
Sauce Sachets
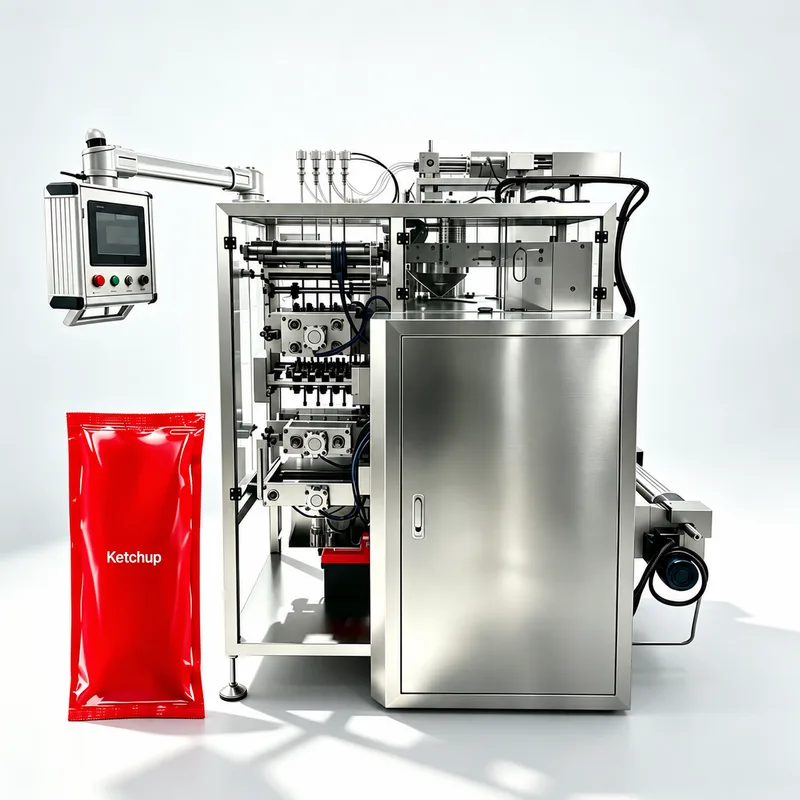
Sauce Four-Side-Seal Sachet Machine
Sauce strings or drips can contaminate the seal area, leading to leaks and rejected sachets. Specify this piston-dosing four-side-seal machine from your sauce, portion, sachet drawing and film.
Premade Pouches
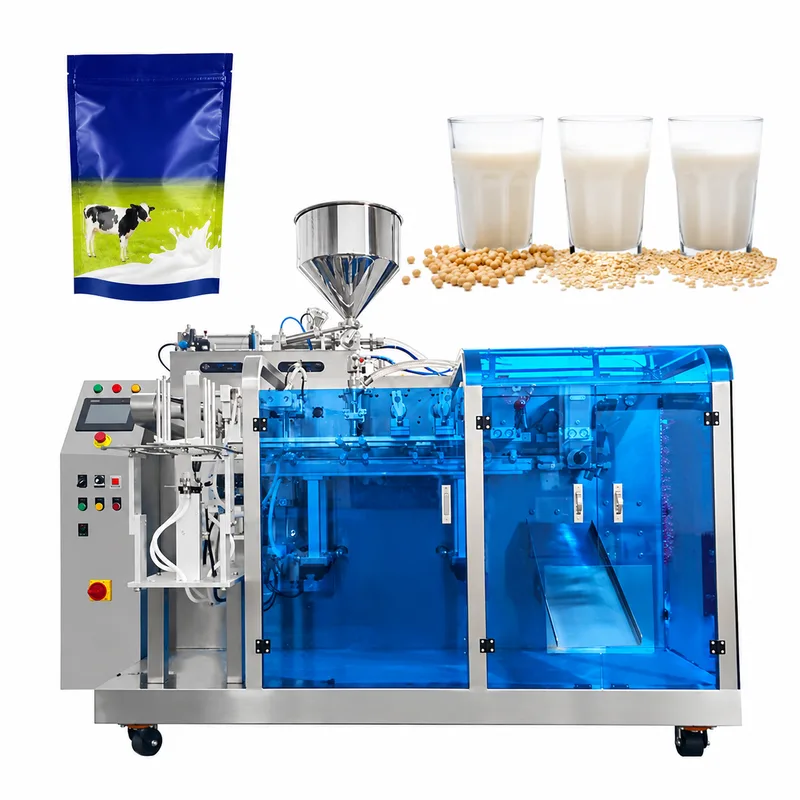
Milk & Beverage Premade-Pouch Filling
Treating a beverage pouch filler as a ready dairy system leaves treatment, cleaning and cold chain unspecified. Use this premade-pouch configuration as the starting point for a milk or beverage review.
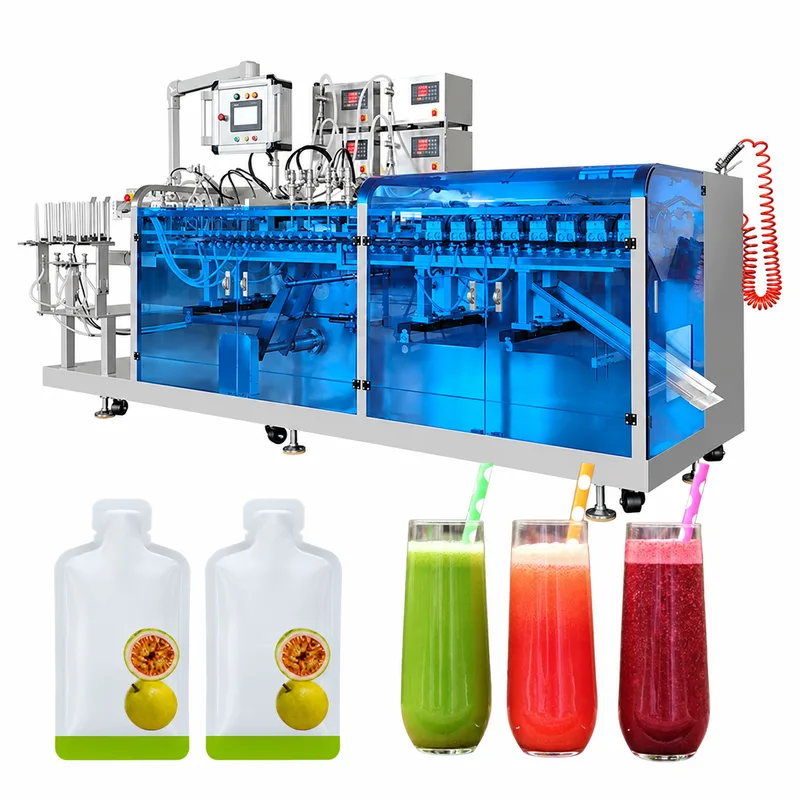
Premade Pouches
Juice & Beverage Pouch Packaging
Foam or a trailing drop at the pouch mouth contaminates the top seal and the pouch leaks. Specify this premade-pouch juice filler from your beverage condition, fill quantity and actual pouches.
What to send us
| Item | Why we need it | Example format |
|---|---|---|
| Pouch samples | Body size and stiffness affect support during filling. | Unused production pouches from your converter. |
| Neck drawing | Opening, thread and flange decide the fitment tooling. | Fitment drawing with dimensions in mm. |
| Matching caps | Cap feeding and engagement are tested with the real cap. | Cap samples plus the cap drawing and closure method. |
| Liquid condition | Viscosity, temperature, foam and particles set the filling path. | Short description and a representative sample. |
| Fill quantity | Sets dosing and the filled pouch shape. | Target quantity in ml or g with tolerance. |
We reply within 24 hours.